
Howdy Folks!
As always, Microsoft has just turned on another one-click sign on configuration. This time, it is with Google Apps. As part of their ongoing quest to make setting up SSO and federation so simple anyone can do it, Microsoft has worked closely with google to accomplish this.
This tutorial will show you how to connect your Google Apps environment to your Azure Active Directory (Azure AD). You will learn how to configure single sign-on to Google Apps, how to enable automated user provisioning, and how to assign users to have access to Google Apps.
Before we start let’s have a look at Prerequisites, we will assume you have the following requirements already set up with you.
Prerequisites:
- You Should have access to Azure AD through azure management portal.
- You should have a valid tenant for Google Apps for Work or Google Apps for Education. You may use a free trial account for either service, but you should have a verified domain linked to any of these services.
- The same domain should be linked to your Azure Active Directory.
- For every user that you intend to provision Google Apps, their username in Azure Active Directory must be tied to a custom domain. For example, usernames that look like bob@contoso.onmicrosoft.com will not be accepted by Google Apps, whereas bob@contoso.com will be accepted
So let’s start with integrating your google apps with Azure AD.
Step 1: Add google apps to your directory
- Navigate to your Active Directory in azure management portal. Make sure the UPN is set to your custom domain name. For eg: user@yourdomain.com

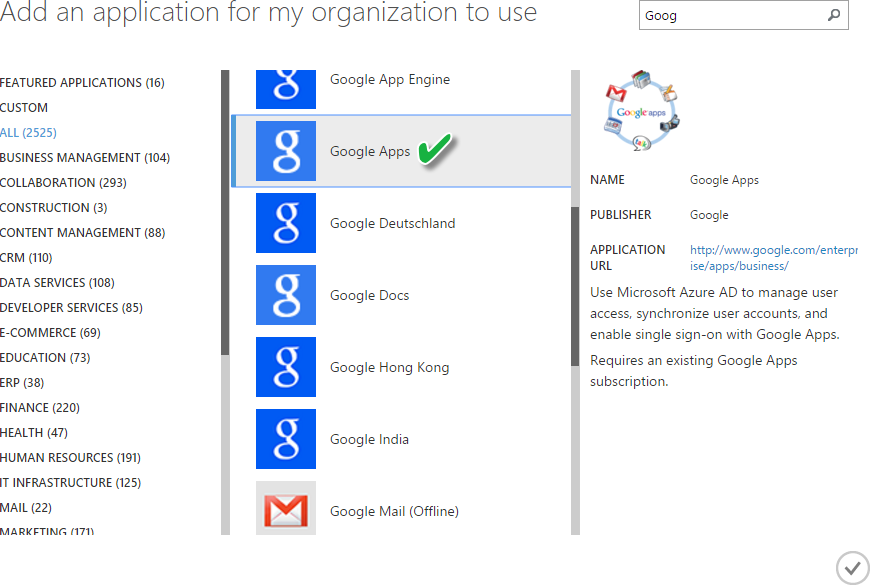
- Go to ‘APPLICATIONS‘ tab and click on ‘ADD‘ at the bottom. Select ‘Add an application from the gallery‘. Then search for ‘Google Apps‘ in the pop-up and proceed.
Step 2: Configuring Single Sign-On
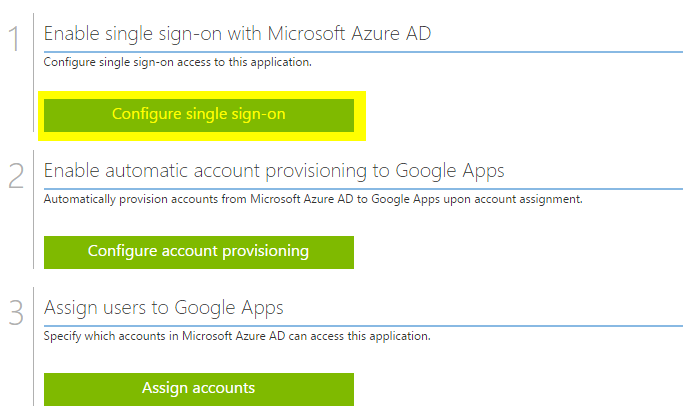
- In the Quick Start Page, click on ‘Configure single sign-on‘
- Choose ‘Microsoft Azure AD Single Sign-On‘

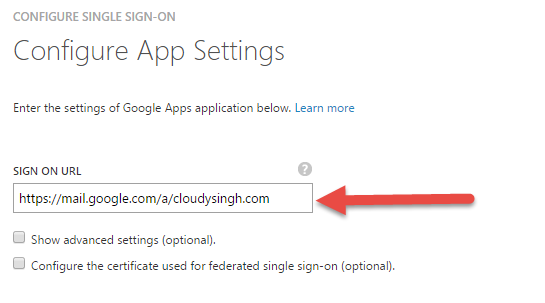
- Enter The Sign in URL in the following format:
https://mail.google.com/a/<yourdomain>
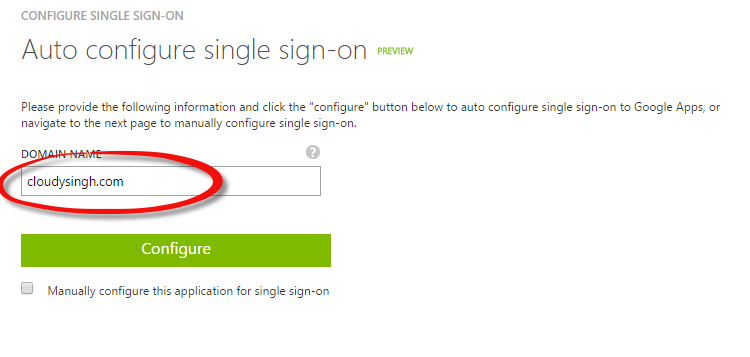
 4. In the Auto configure single sign-on menu, add the name of your domain.
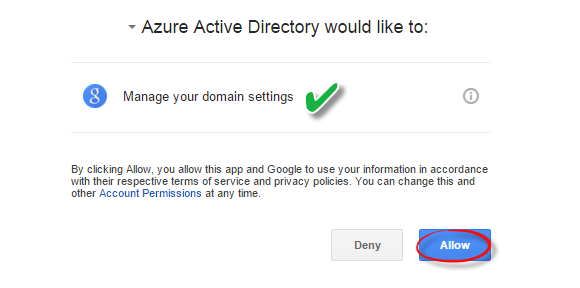
 5. Choose your account to login into and ‘Allow‘ the permissions to Azure Active Directory.
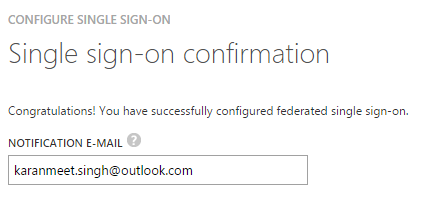
6. Enter an e-mail ID to get the notifications and your single sign-on will be successfully configured.
Step 3: Enable Automatic Account Provisioning
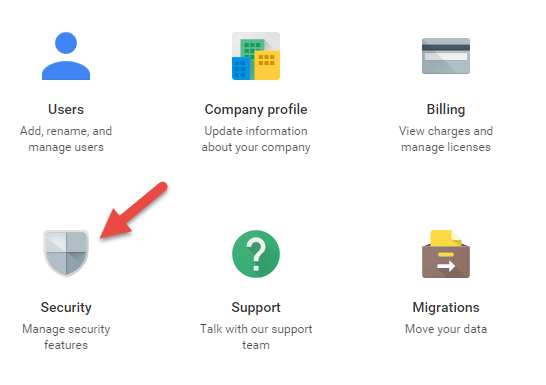
- Sign into the Google Apps Admin Console using your administrator account, and click Security.
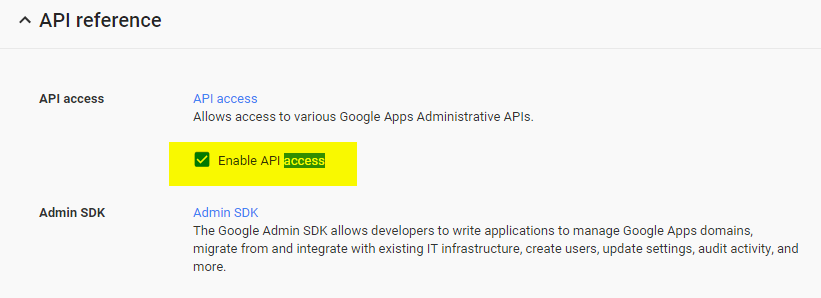
2. On the Security page, click API Reference. Check Enable API access.
3. In the quick start page, select “Configure Account Provisioning to Google Apps”
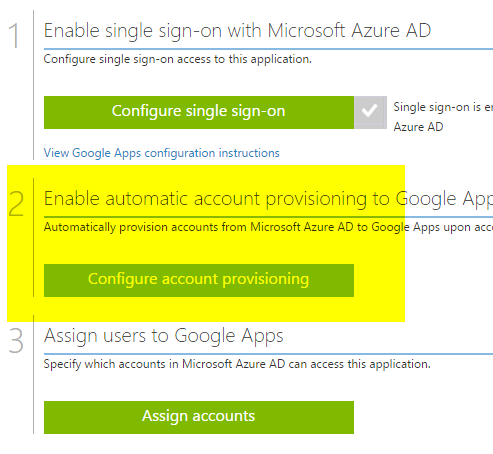
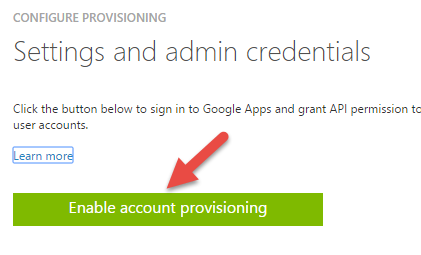
4. Click on “Enable account provisioning”
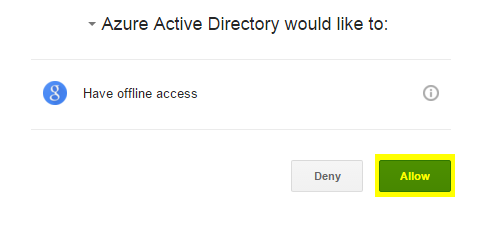
5. Allow access to your Azure Active Directory using the Administrator Account.
6. Click on “Start test” to confirm the connectivity.

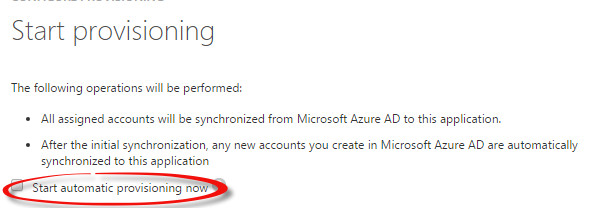
7. To Enable Automatic Provisioning, make sure that “Automatically provision all accounts in the directory to this application” is checked.
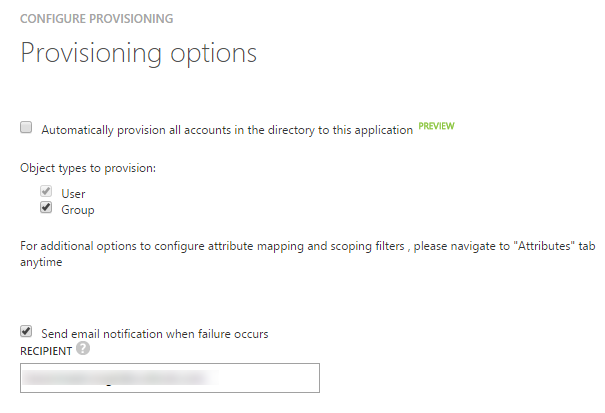
8. Check “Start Automatic Provisioning Now” and finish the setup.
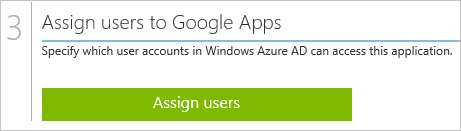
Step 4: Assign Users to Google Apps
- In the Quick Start Page, Click “Assign users“
2. Select your test user, and click the Assign button at the bottom of the screen.
You have successfully assigned users to Google Apps. You can verify this by signing in to gmail.com using a domain user in your Azure Active Directory.
